Pool Crack Repair: Structural vs Cosmetic Cracks Explained
Not all pool cracks are equal. Learn the difference between structural and cosmetic cracks, plus repair options for each type.
Our team at David Resurface knows that sinking feeling you get when you spot a jagged line running across your pool’s floor.
You immediately wonder if this is a simple $200 plaster patch or a $5,000 structural nightmare that threatens your entire backyard.
We have inspected thousands of pools across the Valley, and the reality is that most cracks are just surface-level signs of aging plaster.
However, distinguishing between a cosmetic blemish and a structural failure requires a keen eye for specific patterns.
Our goal in this guide is to help you diagnose the severity of the problem and understand the exact repair methods that actually work in our harsh Arizona climate. For professional crack repair, see our pool repair services.
Types of Pool Cracks: What Are You Looking At?
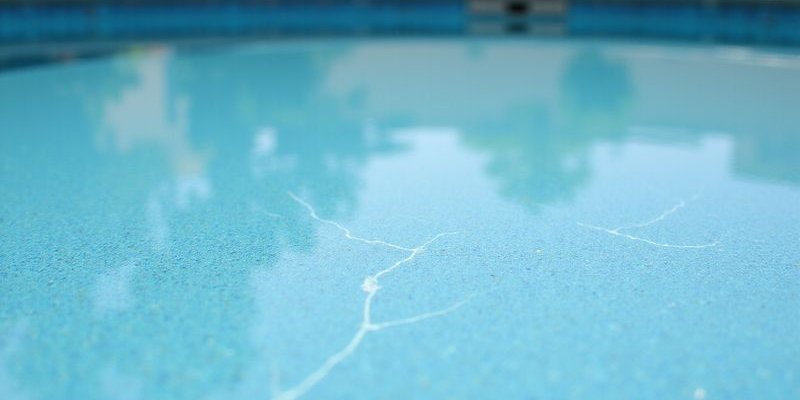
Cosmetic (Surface) Cracks
These imperfections usually affect only the “skin” of your pool—the plaster, quartz, or pebble finish—without compromising the concrete gunite shell underneath.
Characteristics:
- Width: Hairline thin (typically 1/16” or less).
- Pattern: Often appear as “spider webs” or clusters of tiny checking lines (crazing).
- Location: Frequently found on the top step, tanning ledges, or areas that dry out quickly.
- Depth: Very shallow; they do not penetrate the gunite shell.
Why they happen: We find that the extreme thermal expansion and contraction in Phoenix summers is a leading culprit. The National Plasterers Council (NPC) refers to these as “check cracks” or closed shrinkage cracks, often caused when the surface layer cures too quickly in dry heat or simply ages out after 10-15 years.
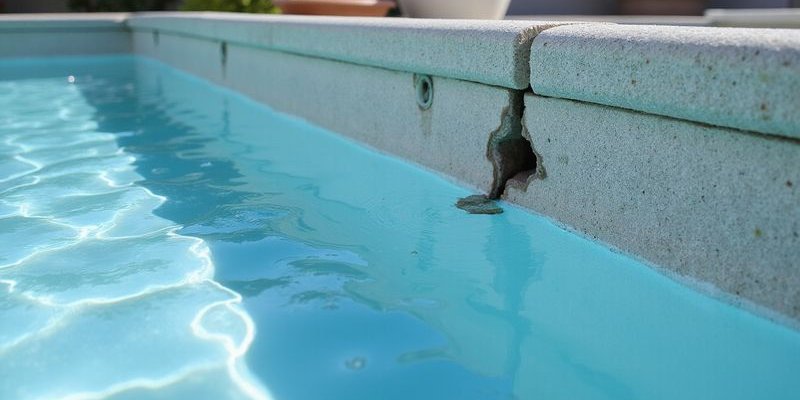
Structural Cracks
These are deep fractures that run through the steel-reinforced gunite shell, meaning the actual vessel holding the water has broken.
Characteristics:
- Width: Wider than a credit card edge (1/8” to 1/4” or more).
- Pattern: Long, straight lines running down walls or across the floor; sometimes mirroring rebar patterns.
- Behavior: They often leak, causing water levels to drop faster than normal evaporation.
- Movement: One side of the crack may be higher than the other (vertical displacement).
Why they happen: Arizona’s expansive clay and caliche soil are notorious for swelling when wet and shrinking when dry, heaving the ground beneath your pool. Our inspectors also see these issues arise from “slope creep” on hillside properties or when hydrostatic pressure builds up against an empty pool shell.
How to Tell the Difference: 3 Field Tests
1. The Screwdriver Test
This is the quickest way to gauge depth.
- The Action: Take a flathead screwdriver and gently probe the crack.
- The Result: If the tip glides over the crack without catching, or only sinks in a tiny fraction of an inch, it is likely cosmetic. If the screwdriver sinks in significantly or gets “stuck” in a void, you are likely dealing with a structural separation.
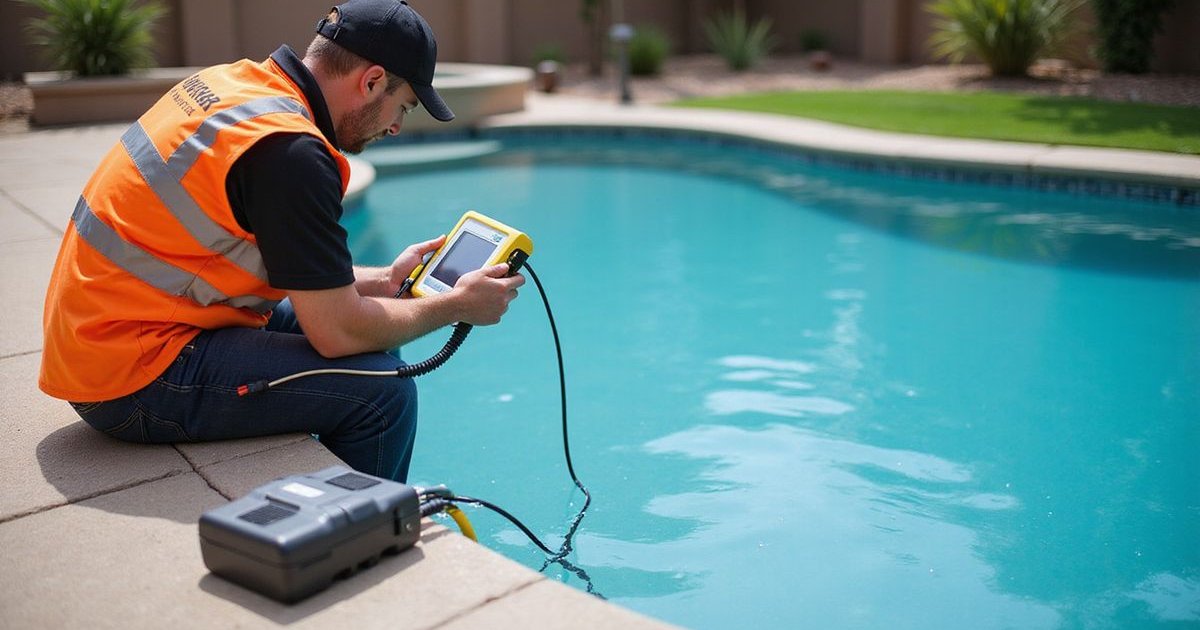
2. The Bucket Test (For Leaks)
We recommend this over the simple “water test” because it accounts for Phoenix’s high evaporation rates (up to 1/2” per day in summer).
- The Setup: Fill a 5-gallon bucket with pool water and place it on the second step of your pool. Ensure the water level inside the bucket matches the water level of the pool exactly.
- The Mark: Use a piece of electrical tape or a grease pencil to mark the water line on both the inside and outside of the bucket.
- The Verdict: Wait 24 hours. If the pool water (outside mark) has dropped more than the bucket water (inside mark), you have a leak, which strongly suggests a structural crack.
3. The Monitor Method
Structural cracks are often “active,” meaning they continue to move.
- The Action: Draw a pencil line at the very end of the crack tip.
- The Verdict: Check it every week for a month. If the crack extends past your mark or widens, the shell is shifting, and you need professional stabilization immediately.
Cosmetic Crack Repair
If your testing confirms the cracks are surface-level, the repair is largely about aesthetics and preventing algae growth.
Option 1: Underwater Epoxy Patch
Best for: Small, isolated check cracks on an otherwise healthy surface.
The Process:
- Clean the crack with a wire brush to remove algae and loose debris.
- Mix a two-part underwater pool putty (like Atlas or Anderson brands).
- Press the mixture firmly into the crack and smooth it with a putty knife.
- Texture the patch with a scouring pad to blend it with the surrounding plaster.
Cost: $50-$200 (DIY materials); $300-$600 (Professional service call).
Option 2: Resurfacing (The Permanent Fix)
Best for: Pools with widespread “spider webbing” or plaster older than 15 years.
The Reality: We often tell homeowners that patching fifty individual cosmetic cracks is like playing whack-a-mole; as the old plaster continues to brittle, new ones will appear. A full resurface removes the old, failing layer and replaces it with a flexible, durable quartz or pebble finish, effectively erasing all cosmetic issues at once.
Cost: Included in the $7,500 - $15,000+ cost of resurfacing. Learn more about pool resurfacing options to eliminate all cosmetic cracks at once.
Structural Crack Repair
This is where expertise matters most. Simply filling a structural crack with epoxy is a temporary band-aid; if the shell moves again, the epoxy will just crack open.
Option 1: The “Torque Lock” Staple Method (Gold Standard)
Best for: Any structural crack, especially those caused by ground movement.
Why we use it: Unlike old-school carbon fiber staples that are just glued to the surface, Torque Lock staples are heavy-duty metal clamps that apply up to 5,000 lbs of controlled compression. They literally stitch the concrete back together and prevent it from pulling apart again.
The Process:
- Cut: We cut slots perpendicular to the crack every 12 inches.
- Drill: Holes are drilled at precise angles to anchor the staple legs.
- Torque: The staple is inserted and tightened with a torque wrench, pulling the crack closed with immense force.
- Cover: The area is filled with high-strength hydraulic cement and plastered over, making the repair invisible.
Cost: $900 - $1,500 per crack (varies by length and access).
Option 2: Epoxy Injection
Best for: Very narrow cracks where staples might not fit, or as a secondary seal.
The Process: Ports are installed along the crack, and a low-viscosity epoxy is injected under extreme pressure. This fills the void all the way through the gunite shell to the soil side.
Warning: Our team rarely recommends this as a standalone solution for moving cracks because it offers zero tensile strength. Without staples to hold the wall still, the crack will likely reopen.
Cost: $500 - $1,000 per crack.
Comparison: Repair Methods at a Glance
| Feature | Epoxy Injection | Carbon Fiber Staples | Torque Lock Staples |
|---|---|---|---|
| Primary Function | Sealing / Waterproofing | Light Stabilization | Heavy Compression & Stabilization |
| Tensile Strength | None | Low | High (5,000 lbs+) |
| Longevity | 1-3 Years | 3-5 Years | Permanent |
| Invasiveness | Low | Medium | High (Requires cutting) |
| Best For | Non-moving leaks | Minor settling | Active structural movement |
When Cracks Indicate Bigger Problems
Sometimes a crack is just a symptom of a much larger geographic or construction issue.
Horizontal Cracks on Walls
Concern: Soil pressure or “bond beam” failure. Why it matters: In Arizona, expansive soil pressing against the pool wall can snap the upper “bond beam” (the reinforced concrete ring at the top). This often requires major engineering work to relieve the pressure behind the wall.
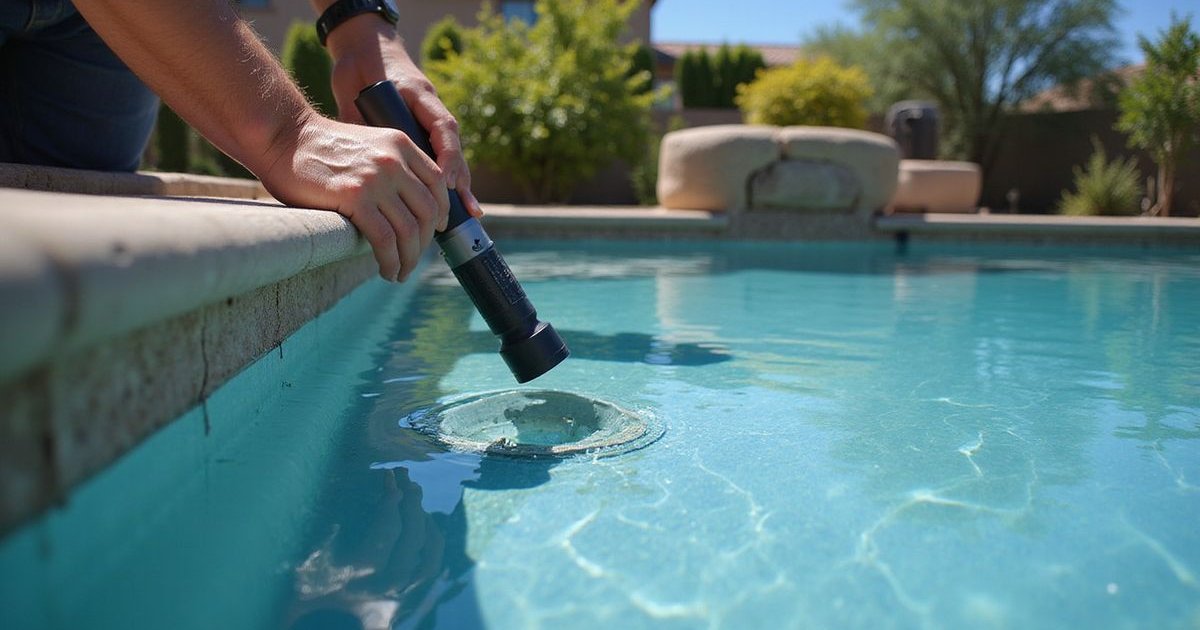
Cracks Radiating from the Skimmer
Concern: Construction joint failure. Why it matters: The skimmer is a weak point in the shell. Leaks here can wash away the soil supporting the deck, leading to sinking concrete pads around your pool.
Prevention: Protecting Your Investment
Maintain Proper Water Levels
You should never drain your pool completely without professional guidance. The weight of the water actually holds the pool shell in place; removing it removes that support, allowing the surrounding earth to crush or heave the shell inward.
Manage Your Drainage
Caliche soil expands with incredible force when it gets wet. We recommend ensuring that all downspouts and deck drains channel rainwater at least 5-10 feet away from the pool shell to prevent the soil from swelling and cracking the gunite.
Watch Your Chemistry
Low calcium hardness (soft water) makes water aggressive, causing it to leach minerals out of your plaster. This weakens the surface and leads to premature crazing and etching, which looks like cracking but is actually chemical damage.
Should You DIY or Hire a Pro?
DIY is safe when:
- The crack is less than 1/16” wide.
- You have confirmed it is not leaking via the Bucket Test.
- You are comfortable working with underwater epoxies.
Call a professional when:
- The crack is wider than a quarter.
- You can insert a screwdriver tip into the crack.
- The crack runs through a tile line or coping stone.
- You suspect the pool is losing water.
The Bottom Line
Most of the cracks we see in Phoenix pools are simply the result of plaster fatigue—ugly, but not catastrophic.
However, ignoring a true structural crack allows water to rust the steel rebar inside your pool shell, turning a fixable crack into a total pool failure.
Our advice is simple: test it, monitor it, and if it moves or leaks, lock it down with proper structural staples.
Concerned about a crack? Contact us for a free assessment. We’ll examine the crack, explain what we find, and recommend the appropriate repair approach.
Tags:
Ready to Transform Your Pool?
Get a free estimate from David Resurface today.