Pool Leak Detection: How to Find and Fix Leaks in Your Pool
Suspect a pool leak? Learn DIY detection methods and when to call a professional. Stop water loss and prevent costly damage.
Is your pool losing water?
You are likely asking this question because you have noticed the auto-fill running constantly or wet spots appearing on the deck.
We founded David Resurface to help homeowners deal with exactly these kinds of stressful unknowns.
A leaking pool in Phoenix is more than just a nuisance. It is a drain on your wallet and a threat to the structural integrity of your backyard investment.
Evaporation is real, especially during our dry summers.
But there is a distinct difference between normal water loss and a plumbing failure.
We see many homeowners ignore small drops in water level until they become major structural issues.
Taking action early saves money.
Let’s look at the data, identify the signs, and walk through the exact steps to confirm if you have a leak. For professional leak detection and repair, see our pool repair services.
Step 1: Confirm You Have a Leak
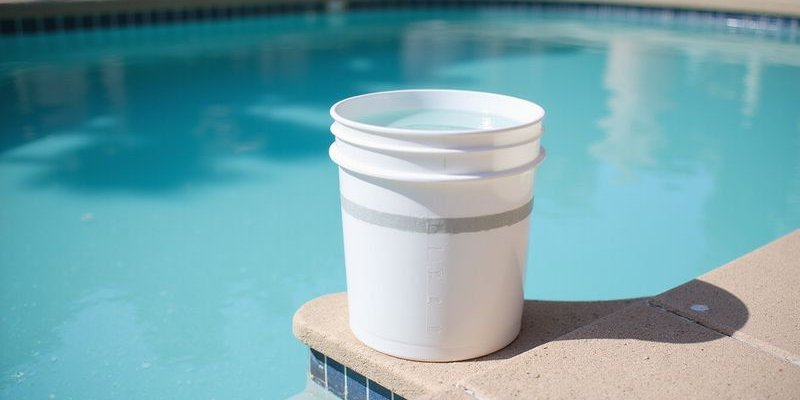
The Bucket Test
You need to separate normal evaporation from a physical leak before calling a professional.
We recommend the bucket test as the absolute standard for verification.
This process eliminates variables like humidity, wind, and surface area to give you a clear answer.
- Fill a 5-gallon bucket with pool water.
- Mark the water line on the inside of the bucket.
- Place the bucket on a pool step.
- Weight it with a rock or brick so it does not float away.
- Mark the pool water level on the outside of the bucket.
- Wait exactly 24 hours.
Note: Ensure the auto-fill is turned off and no one swims during this period.
How to Read Results:
| Observation | Diagnosis | Action |
|---|---|---|
| Both levels drop equally | Normal Evaporation | No leak present. Turn auto-fill back on. |
| Pool level drops more | Leak Confirmed | You likely have a leak. Proceed to detection steps. |
What is Normal Water Loss in Phoenix?
New pool owners often overestimate how much water evaporation actually takes.
We use specific benchmarks based on local climate data to determine what is acceptable.
Summer (May - September):
- 1/4 inch per day: This is standard evaporation.
- 1/2 inch per day: This is high but possible during extreme heat or windy days.
- Over 1/2 inch: This almost always indicates a leak.
Winter (October - April):
- Evaporation drops significantly.
- Any noticeable daily drop in cooler months is a red flag.
Step 2: Identify Where It Is Leaking
Finding the source is the next logical step once a leak is confirmed.
We categorize leaks into three distinct zones based on when the water loss occurs.
1. Pool Shell (Structure)
This refers to the physical vessel of your pool, including the plaster, shotcrete, and tile line.
Leaks here are often caused by shifting soil or plaster fatigue in older pools (10-15+ years).
Signs to watch for:
- Water loss continues at the same rate whether the pump is on or off.
- Cracks appear in the plaster or pebble surface.
- Grout is missing from the waterline tile.
2. Plumbing Lines
These are the underground pipes that circulate water to and from your equipment.
We find that pressure-side leaks (return lines) are often more aggressive than suction-side leaks.
Signs to watch for:
- Water loss accelerates when the pump is running (Pressure Side).
- Air bubbles constantly appear in the pump basket or return jets (Suction Side).
- You notice mushy or sinking soil areas in the yard.
3. Equipment Pad
The machinery that runs your pool is a frequent source of water loss.
These leaks are usually the easiest to spot and the cheapest to fix.
Signs to watch for:
- Puddles form under the pump or filter.
- White, crusty corrosion builds up on pipe connections.
- The concrete pad remains permanently damp.
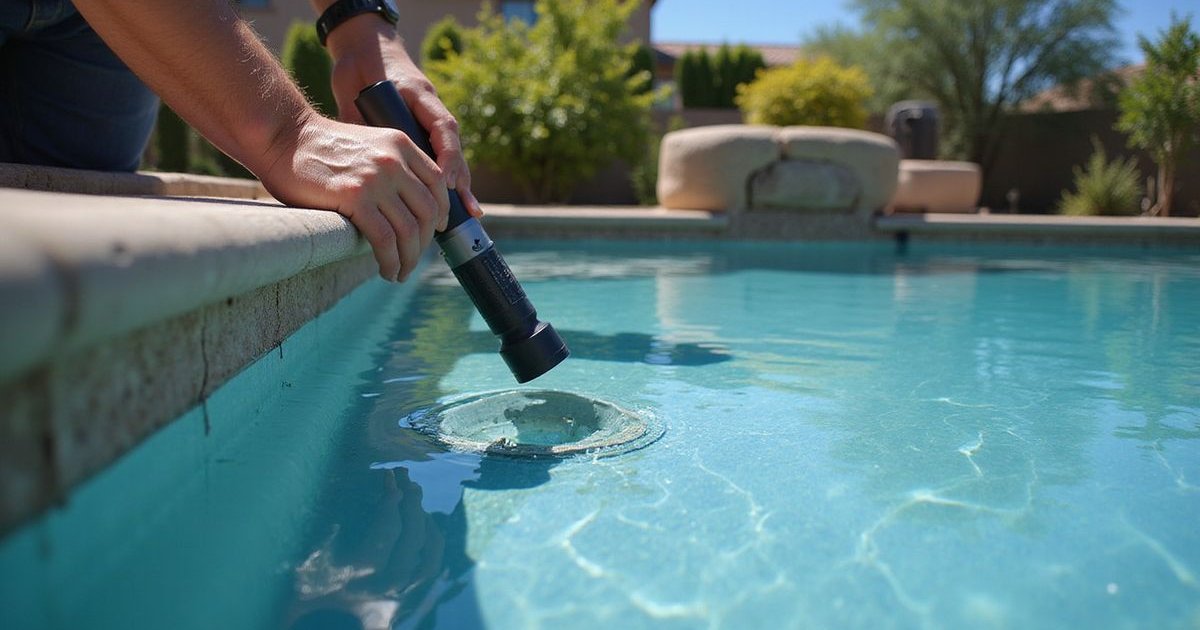
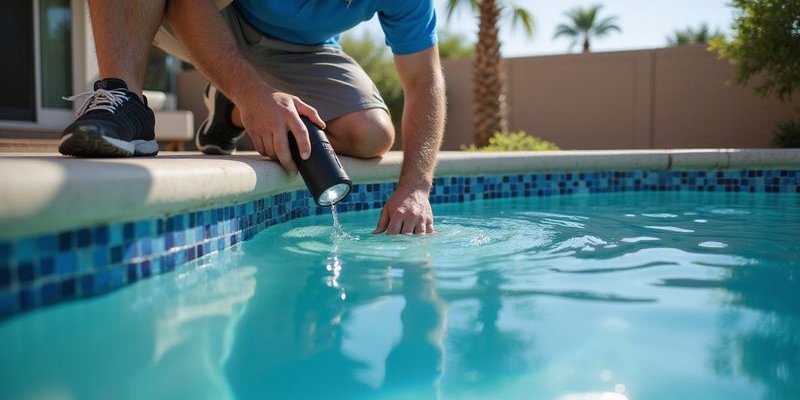
DIY Leak Detection Methods
The Dye Test
This method allows you to visually confirm suction leaks without expensive tools.
We suggest using a dedicated leak detection dye syringe, though dark food coloring works in a pinch.
- Turn off the pool pump and let the water become perfectly still.
- Identify a suspected crack or fitting.
- Gently squeeze a small amount of dye near the area.
- Observe the dye cloud.
Interpreting the movement: If the dye remains a cloud, there is no leak. If the dye is sucked into the crack or fitting like smoke into a vacuum, you have found the problem.
Common targets for dye testing:
- Skimmer throats (where plastic meets concrete).
- Light fixtures.
- Return jet fittings.
- Visible structural cracks.
Equipment Inspection
A visual check of your equipment pad can save you the cost of a service call.
We advise checking these specific components first:
- Pump Shaft Seal: Look directly under the motor. A drip here means the mechanical seal has failed.
- Pump Lid O-Ring: Check for water oozing from under the clear lid.
- Filter Clamp/Band: Ensure water isn’t dripping from the middle of the filter tank.
- Plumbing Unions: Run your hand under pipe connections to feel for moisture.
The “Mark and Wait” Method
Slow leaks can be deceptive and hard to measure visually.
You can use tape to track specific loss over a longer period.
- Place a piece of electrical tape at the current water level on the tile.
- Disable the auto-fill system.
- Measure the distance from the tape to the water level after 24 hours.
The Math: A 15x30 foot pool loses roughly 280 gallons of water for every inch it drops.
If you lose 1 inch a day, that is nearly 8,400 gallons lost per month.
When Water Level Stops Dropping
The level at which the water stabilizes provides a critical clue.
We use this stabilization point to rule out huge sections of the pool system.
Stabilization Scenarios:
| Water Stops At… | Likely Leak Location |
|---|---|
| The Skimmer Mouth | The leak is in the skimmer body or the suction line connected to it. |
| The Return Jets | The issue is likely a return line or the fitting itself. |
| The Light Fixture | The conduit behind the light or the light niche seal has failed. |
| The Main Drain (Bottom) | This indicates a hydrostatic valve failure or a structural crack in the floor. |
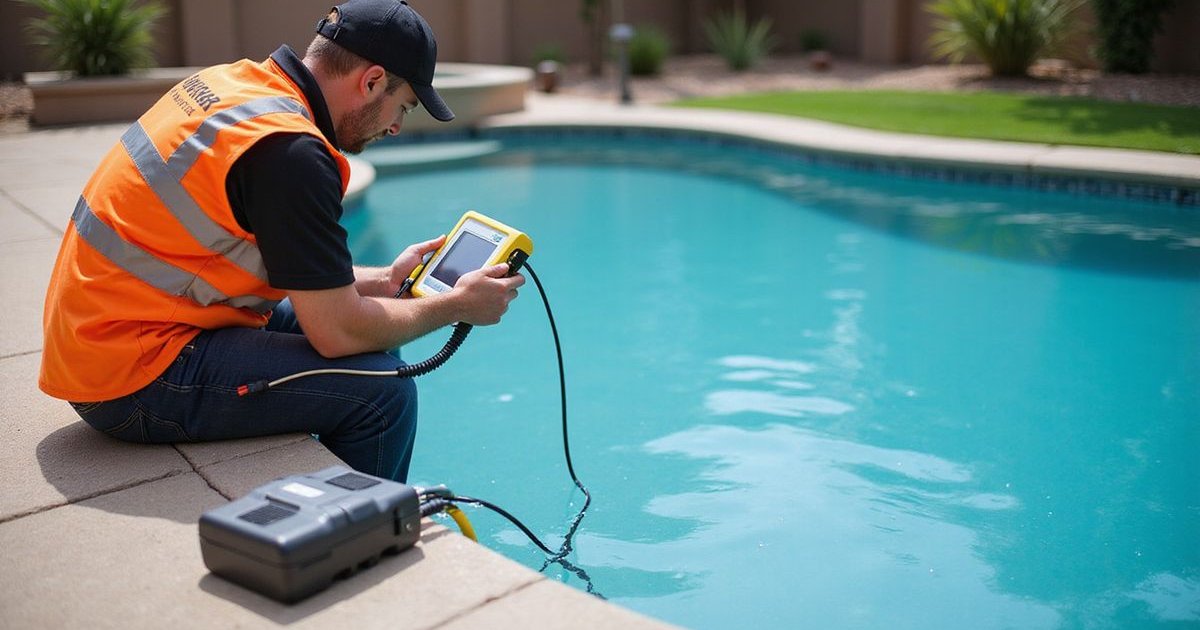
Professional Leak Detection
Some leaks are hidden beneath feet of concrete or soil and require advanced technology to locate.
We utilize industrial-grade tools to pinpoint these issues without digging up your yard blindly.
Pressure Testing
This is the medical stress test for your pool’s plumbing.
Technicians plug both ends of a pipe run and induce pressure using water or air.
If the pipe cannot hold that pressure, we know there is a breach in that specific line.
Electronic Listening (Acoustics)
Water escaping a pipe under pressure makes a specific sound.
We use ultrasonic listening devices, such as the Fisher XLT series, to hear leaks through concrete decks.
This technology allows us to mark the ground directly above the break for precise repair.
Dye Injection & Static Testing
Professionals use specialized diving gear to test the shell thoroughly.
We inject concentrated dye into main drains, light niches, and structural cracks while underwater.
Common Leak Locations (Ranked)
Our service data from hundreds of Phoenix pools highlights the most frequent offenders.
- Skimmer Throat (25%): The interface between the plastic skimmer and the concrete shell often cracks due to soil expansion.
- Light Fixture (20%): The electrical conduit behind the light is a common escape route for water.
- Return Fittings (15%): Vibrations can loosen the seal where the return pipe enters the pool wall.
- Main Drain (10%): Hydrostatic relief valves at the bottom of the pool can get stuck open by debris.
- Underground Plumbing (10%): Roots or ground shifting can snap PVC pipes.
- Equipment Pad (10%): Pumps and filters degrade under the Arizona sun.
- Structural Cracks (10%): Major shell failure is less common but requires significant repair.
Leak Repair Options
Shell Leaks
Minor Surface Cracks: These are often cosmetic or shallow.
We use underwater epoxies that cure instantly to seal these gaps.
Structural Cracks: A crack that runs through the gunite shell requires structural reinforcement.
We install “staples” (like Torque Lock staples) across the crack to prevent it from reopening before resurfacing the area. Learn more about crack repair options in our pool crack repair guide.
Plumbing Leaks
Above Ground: These are simple cuts and glue repairs.
We replace the faulty valves or pipe sections with high-temperature Schedule 40 PVC.
Underground: This requires cutting through the deck or digging through the yard.
Once the broken pipe is exposed, we splice in a new section and pressure test it again before filling the hole.
Equipment Leaks
Most equipment issues are maintenance items rather than catastrophic failures.
We typically replace O-rings, shaft seals, or the entire pump housing if the damage is severe.
The Cost of Ignoring a Leak
A “small” leak is a financial hazard that grows over time.
We have seen minor drips evolve into foundation issues that cost tens of thousands to fix.
The Financial Reality:
- Water Bills: A 1/2-inch daily loss in an average pool wastes over 4,000 gallons a month. With 2026 water rates, this adds up immediately.
- Chemical Costs: You are constantly diluting your salt or chlorine. You end up buying 30-50% more chemicals just to maintain balance.
- Energy Waste: If your auto-fill runs constantly, you are paying to treat water that just disappears.
Structural Risks:
- Soil Erosion: Water escaping underground washes away the dirt supporting your pool deck, leading to cracks and settling.
- Equipment Failure: If the water level drops too low, your pump sucks air. This can burn out the motor in a matter of hours.
My Recommendation
You should start with the basics before worrying about major repairs.
- Perform the Bucket Test: This is the only way to be 100% sure you have a problem.
- Check the Equipment Pad: Look for the easy fixes first.
- Inspect the Skimmer and Lights: These are the most common structural leak points.
- Call a Professional: If you cannot find the source, stop guessing.
Delaying a repair only increases the damage to the soil around your pool.
A simple repair today is far cheaper than a deck reconstruction tomorrow.
Suspect a leak? Contact us for professional detection. We find the leak, explain your options, and fix it right the first time.
Tags:
Ready to Transform Your Pool?
Get a free estimate from David Resurface today.